Umami
Umami is a free and open source alternative to systems like Google Analytics. It allows you to track visitors and usage of your websites, but you have complete ownership of the data in your own MySQL or PostgreSQL database.
Prerequisites
- A web domain.
- A server or VM with Docker.
- I went with a Debian VM with 1 CPU and 1 GB RAM on my local Proxmox server.
- A Cloudflare account and tunnel.
- Not necessarily required, but you will need a way to expose the server via your domain.
Setup
Getting started is easy and only requires one change to the docker-compose.yml file provided in their repo - just update the APP_SECRET.
Docker Compose
---
version: '3'
services:
  umami:
    image: ghcr.io/umami-software/umami:postgresql-latest
    ports:
      - "3000:3000"
    environment:
      DATABASE_URL: postgresql://umami:umami@db:5432/umami
      DATABASE_TYPE: postgresql
      APP_SECRET: replace-me-with-a-random-string
    depends_on:
      db:
        condition: service_healthy
    restart: always
    healthcheck:
      test: ["CMD-SHELL", "curl http://localhost:3000/api/heartbeat"]
      interval: 5s
      timeout: 5s
      retries: 5
  db:
    image: postgres:15-alpine
    environment:
      POSTGRES_DB: umami
      POSTGRES_USER: umami
      POSTGRES_PASSWORD: umami
    volumes:
      - umami-db-data:/var/lib/postgresql/data
    restart: always
    healthcheck:
      test: ["CMD-SHELL", "pg_isready -U $${POSTGRES_USER} -d $${POSTGRES_DB}"]
      interval: 5s
      timeout: 5s
      retries: 5
volumes:
  umami-db-data:
Change Password
After starting things up via docker compose up -d you should be able to visit the server’s IP address on port 3000 and see a login page. The default user is admin and password is umami.
After logging in you can change the password by going to the user icon in the top right, selecting Profile, and then change password.
Cloudflare
Now that the password is updated, the next step is to set up the domain. For my purposes, I used my existing Cloudflare tunnel and just added a new public hostname entry forwarding to my local IP on port 3000.
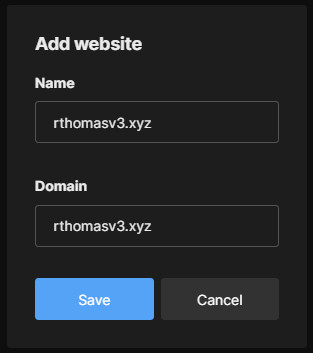
Add a Website
Now that things are set up, you can add the domain you want to monitor by going to Settings -> Websites -> Add website. Then just enter any name you want along with the domain (excluding http or https).
Add Tracking
The last step is to add the tracking code to your site’s head section. This tracking code can be found by hitting Edit on the website and selecting the Tracking code tab.
For this site it was as easy as copying the provided script and pasting it into the head-end.html file for my Hugo template. After that I deployed the changes and visited the site. The traffic showed up on the dashboard immediately.
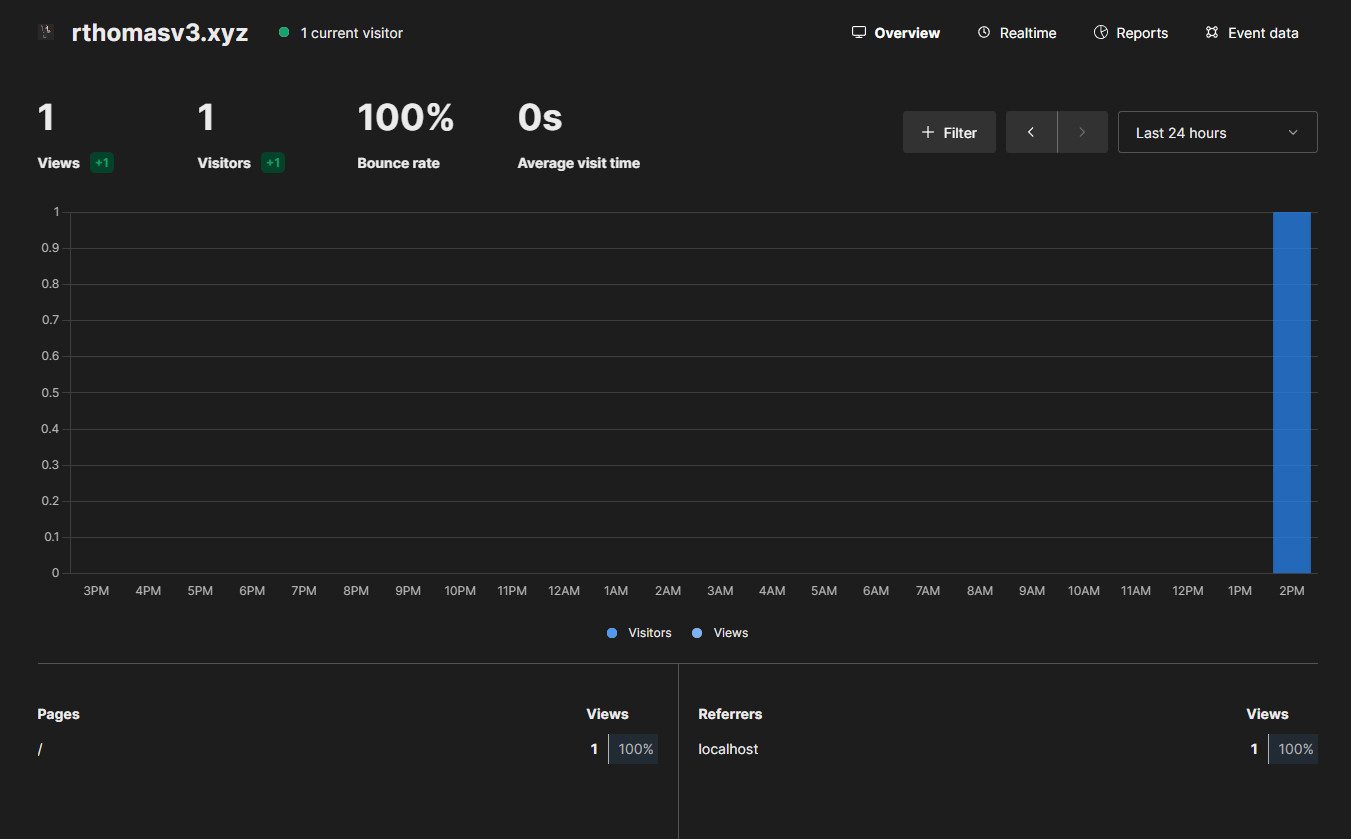
That’s all it took - with only a few minutes of effort you can start seeing tons on information about your website visitors in a way that actually respects their privacy and gives you full ownership of the data.