ntfy
ntfy is a simple system you can use to get push notifications on iOS, Android, and even desktop. You can use the public server at https://ntfy.sh for free, but it’s easy to host yourself.
It’s also easy to integrate (and has built-in support many self-hosted apps) because it just requires a simple HTTP POST request with optional credentials.
There are also SDKs for some languages, but based on the source code I’ve seen you’re likely o run into issues with port exhaustion, so I wouldn’t recommend them for production systems.
Prerequisites
For the purposes of this tutorial, you’ll need the following:
- A web domain.
- A server or VM with Docker.
- I went with a Debian VM with 1 CPU and 1 GB RAM on my local Proxmox server.
- A Cloudflare account and tunnel.
Setup
Setup for the server is extremely easy - you just need one docker compose file with the correct configuration.
Basic Compose File
By default, a ntfy server is public and can be used by anyone. To set up a public server, you can use the following configuration (just update the base URL to your domain):
version: "2.3"

services:
  ntfy:
    image: binwiederhier/ntfy
    container_name: ntfy
    command:
      - serve
    environment:
      TZ: UTC
      NTFY_UPSTREAM_BASE_URL: https://ntfy.sh
      NTFY_BASE_URL: https://ntfy.yourdomain.com
    volumes:
      - /var/cache/ntfy:/var/cache/ntfy
      - /etc/ntfy:/etc/ntfy
      - /var/lib/ntfy:/var/lib/ntfy
    ports:
      - 80:80
    restart: unless-stopped
A full list of configuration options can be found here: https://docs.ntfy.sh/config/#ios-instant-notifications
NTFY_UPSTREAM_BASE_URL is required for iOS push notifications. See https://docs.ntfy.sh/config/#ios-instant-notifications for more information.Private Compose File
To set up a private server that requires auth, you can use the configuration below. The differences here are just to set the auth database location and deny access by default. Note you’ll still need to update the base URL to your domain.
version: "2.3"

services:
  ntfy:
    image: binwiederhier/ntfy
    container_name: ntfy
    command:
      - serve
    environment:
      TZ: UTC
      NTFY_AUTH_FILE: /var/lib/ntfy/auth.db
      NTFY_AUTH_DEFAULT_ACCESS: deny-all
      NTFY_ENABLE_LOGIN: true
      NTFY_UPSTREAM_BASE_URL: https://ntfy.sh
      NTFY_BASE_URL: https://ntfy.yourdomain.com
    volumes:
      - /var/cache/ntfy:/var/cache/ntfy
      - /etc/ntfy:/etc/ntfy
      - /var/lib/ntfy:/var/lib/ntfy
    ports:
      - 80:80
    restart: unless-stopped
Configuration
To start the server, just use docker compose like any other app:
docker compose up -dAfter that the image should be downloaded and docker should start up a container for you. It will be listening on port 80 in this case with no need to setup a reverse proxy like nginx.
After the container is running, you can add a user if you set up a private instance using the command below. After running it you’ll be prompted to create a password.
docker exec -it <your-container-id> ntfy user add --role=admin yourUserNameCloudflare
For convenience, I like to use a Cloudflare tunnel to expose the server via a my own domain. This also has the benefit of not exposing your home IP when people visit your sites.
- Navigate to your tunnel in Cloudflare Zero Trust and select Configure.
- Select the Public Hostname tab and then hit “Add a public hostname”.
- Set your subdomain and domain to match your compose file.
- Set the Type to HTTP and URL to the local IP address of your server.
- It should use port 80 by default.
- Save.
That’s it. You should now be able to navigate to your instance via a web browser and start using it.
iOS Setup
As mentioned above, there can be some issues with getting push notifications working on iOS. In the app you need to make sure that the default server in settings is set to your domain and matches NTFY_BASE_URL exactly. You also need to make sure NTFY_UPSTREAM_BASE_URL is set to “https://ntfy.sh” and not your domain. If this isn’t setup right notifications can be significantly delayed (or may never show up).
If you set up a private server with a user and password, you’ll also need to set those up in the app settings.
Then you can add your topic. Set the topic name to whatever you like and be sure to check “use another server” and enter your custom domain (should match NTFY_BASE_URL).
Then you should be good to go to start receiving notifications on iOS.
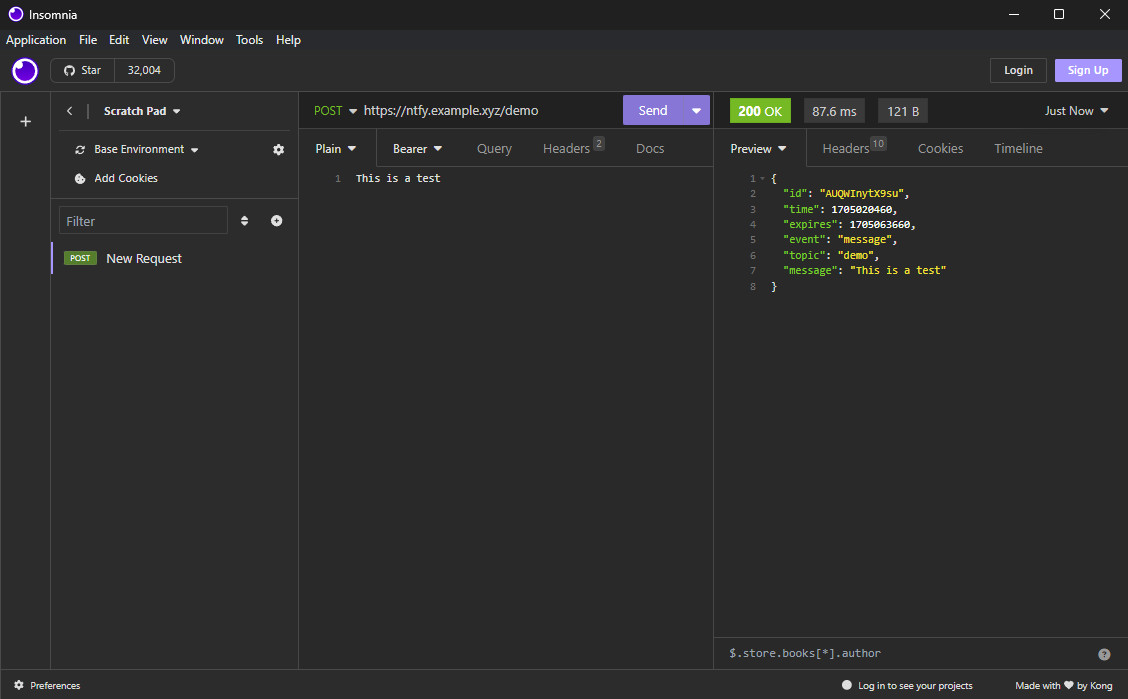
Testing
You can easily test using any API client of your choice. Just post a string body to your URL slash the topic name (ex. https://ntfy.example.xyz/demo) and you should get the notification on any devices subscribed to that topic.