Proxmox Setup and VMs
This is a continuation of the installation of Proxmox Virtual Environment (PVE) on my server. Be sure to check out Part 1 if you missed it. Also see the server information here.
The next step is to make a place to store VMs, images, and backups.
Storage
First I made a directory to store ISO images for installing operating systems onto any VMs I create. For this, I had allocated a single drive in Part 1 using the RAID controller in my server. To actually get PVE to see it, the drive must be completely empty - no file system and no old partition table or data on it.
If you need to wipe your drive, you can log into PVE as root by selecting your node under Datacenter in the tree and then selecting ‘>_ Shell’. You can then use fdisk to delete the partition tables and dd to overwrite any data on it. Take care when using these commands - especially when logged in as root - as they can easily destroy your data.
After that the drive should be visible to PVE. To start using it, I navigated to my node, expanded ‘Disks’, and selected ‘Directory’. At the top of this screen is a ‘Create: Directory’ button. From there I selected my drive, file system, and gave it the name ISOs.
Note: If you don’t have a RAID controller, you can setup your disks at this point with ZFS by selecting ‘ZFS’ under ‘Disks’ and using the ‘Create: ZFS’ button. They should then be available for creating directories and volumes.
With that done, I needed a place to store VMs. For that, I selected ‘LVM’ under ‘Disks’, hit the ‘Create: Volume Group’ button at the top, and selected the RAID 5 volume I had setup previously.
In retrospect, I think I would have set things up a little different. I think I would have used a RAID 1 volume for the OS and a RAID 5 volume using my remaining disks for all storage. I thought multiple disks would be better for organization, but PVE already does some of that for you with different categories in a directory.
One last step was a flash drive for storing some backups. I plugged in an old flash drive, logged into the shell, deleted partitions with fdisk, and wrote some zeros with dd. After that I mounted it to a temp location in /media to make it visible. I then used it to create a directory with the same steps as the ISOs (but named this one Backups).
I think a flash drive or external drive makes sense for backups because - theoretically - I should be able to restore the backups to VMs on a new server if I ever decide to move things. I really don’t know if this will work, but my guess is it should be a matter of plugging the drive into a new system, mounting it to /mnt/pve/Backups, and then just using it to restore to a new VM on the new machine.
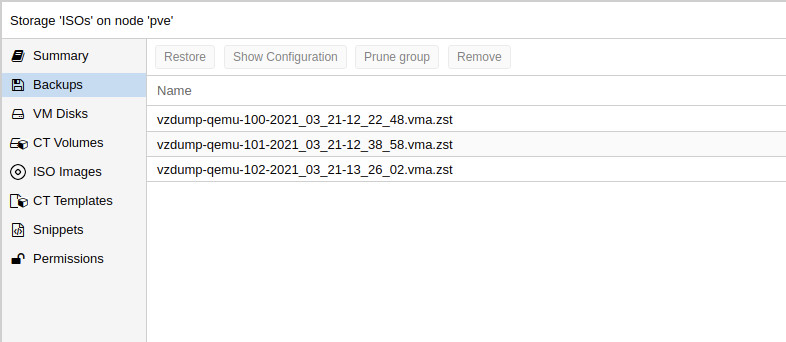
One last step is to make an OS image available to install. This is pretty easy to do from the PVE portal. First I downloaded Ubuntu Server 20.04. Then I went to my ISOs directory, selected ‘ISO Images’, and hit ‘Upload’. This brings up a dialog to select and upload the Ubuntu Server image.
Now I can create all the VMs I need.
VMs
If you remember from the setup post, the idea is to serve multiple websites from one IP. Why? I only have one static IP and don’t really want to pay a monthly fee for a whole static block.
For this I’m going to use multiple VMs. You can do it with one, but I think there are some scalability, security, and performance benefits to using different VMs. With my setup one will act as a gateway and filter or forward traffic as needed.
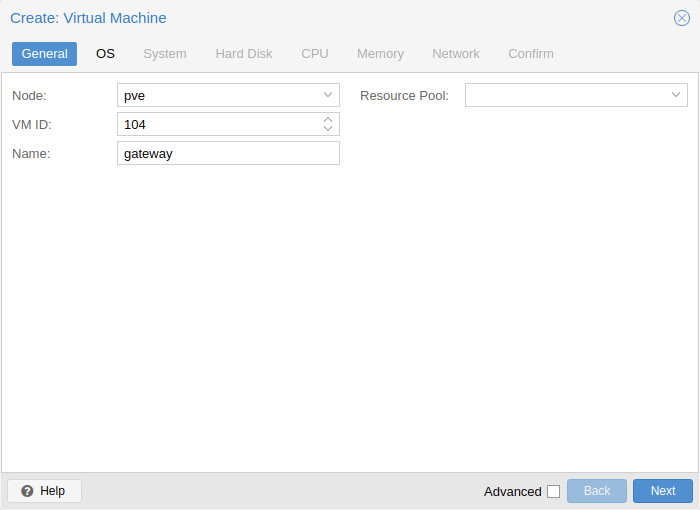
To create a VM, there’s a blue button in the upper right that says ‘Create VM’. From here the process is really similar to creating a VM in other software.
First select the node (I only have one, ‘pve’). Then give it an ID (default 100) and a name (for me, ‘gateway’).
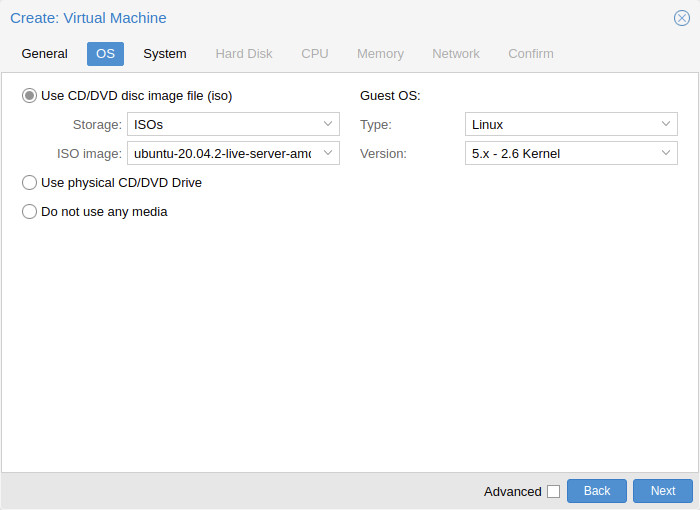
After that is the OS. I selected my ISO storage drive and then the Ubuntu ISO I uploaded earlier. I also made sure the OS was set to Linux.
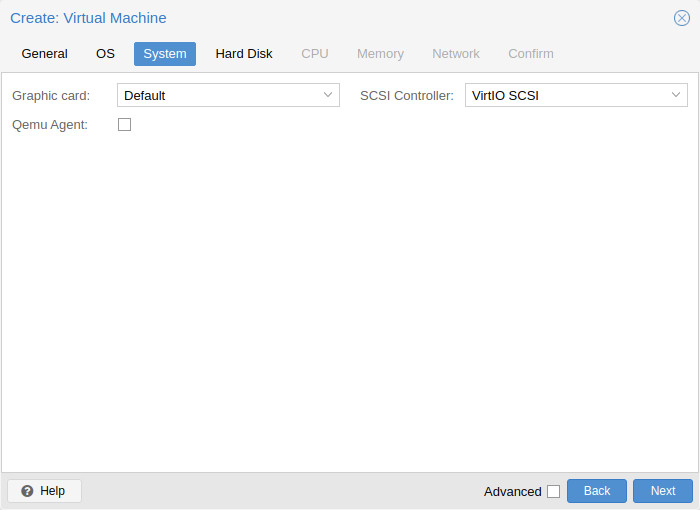
For the System tab I didn’t end up making any changes.
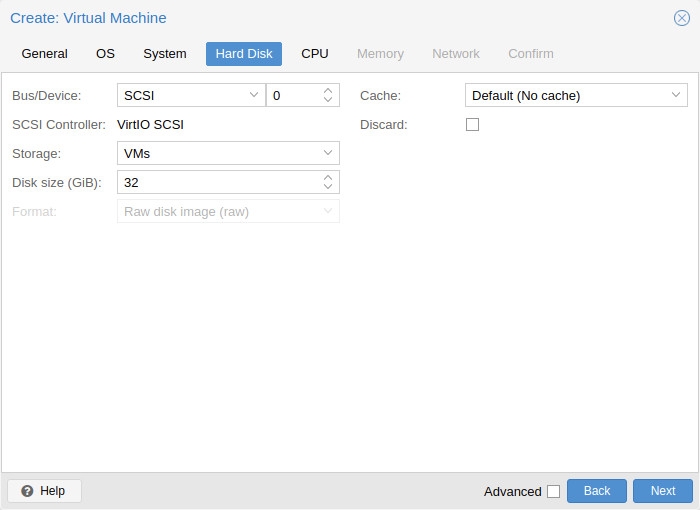
For Hard Disk, I selected my VMs storage and left the default disk size of 32 GiB.
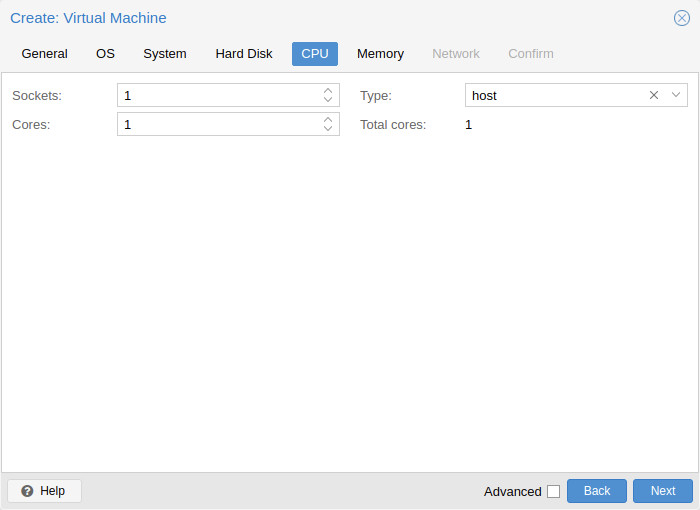
For CPU I think 1 will do just fine for a gateway, but this can always be adjusted later. For the type I just selected ‘host’. I didn’t see my CPU in the options list or I probably would have selected it. Other tutorials I’ve followed also selected ‘host’ here as well. I haven’t had any issues with this option so I assume everything is ok.
For Memory I left it at 2 GiB. Again, this should be enough for a gateway, but if you have more memory intensive application(s) just allocate more.

I left Network at default and then confirmed.
The VM appeared on the right hand side under the ‘pve’ node and was quickly ready to go. I then started it up, selected ‘>_ Console’, and walked through the Ubuntu installation like normal.
I then repeated the VM creation and installation steps so I’d have VMs for the gateway to route to.

Next up I’ll go over using ufw and nginx to secure and serve the websites.